Control Panel
The Statamic Control Panel enables you to publish content, manage users, configure settings, run updates, and all manner of other useful things. It's responsive, intuitive, and powerful.
Logging In
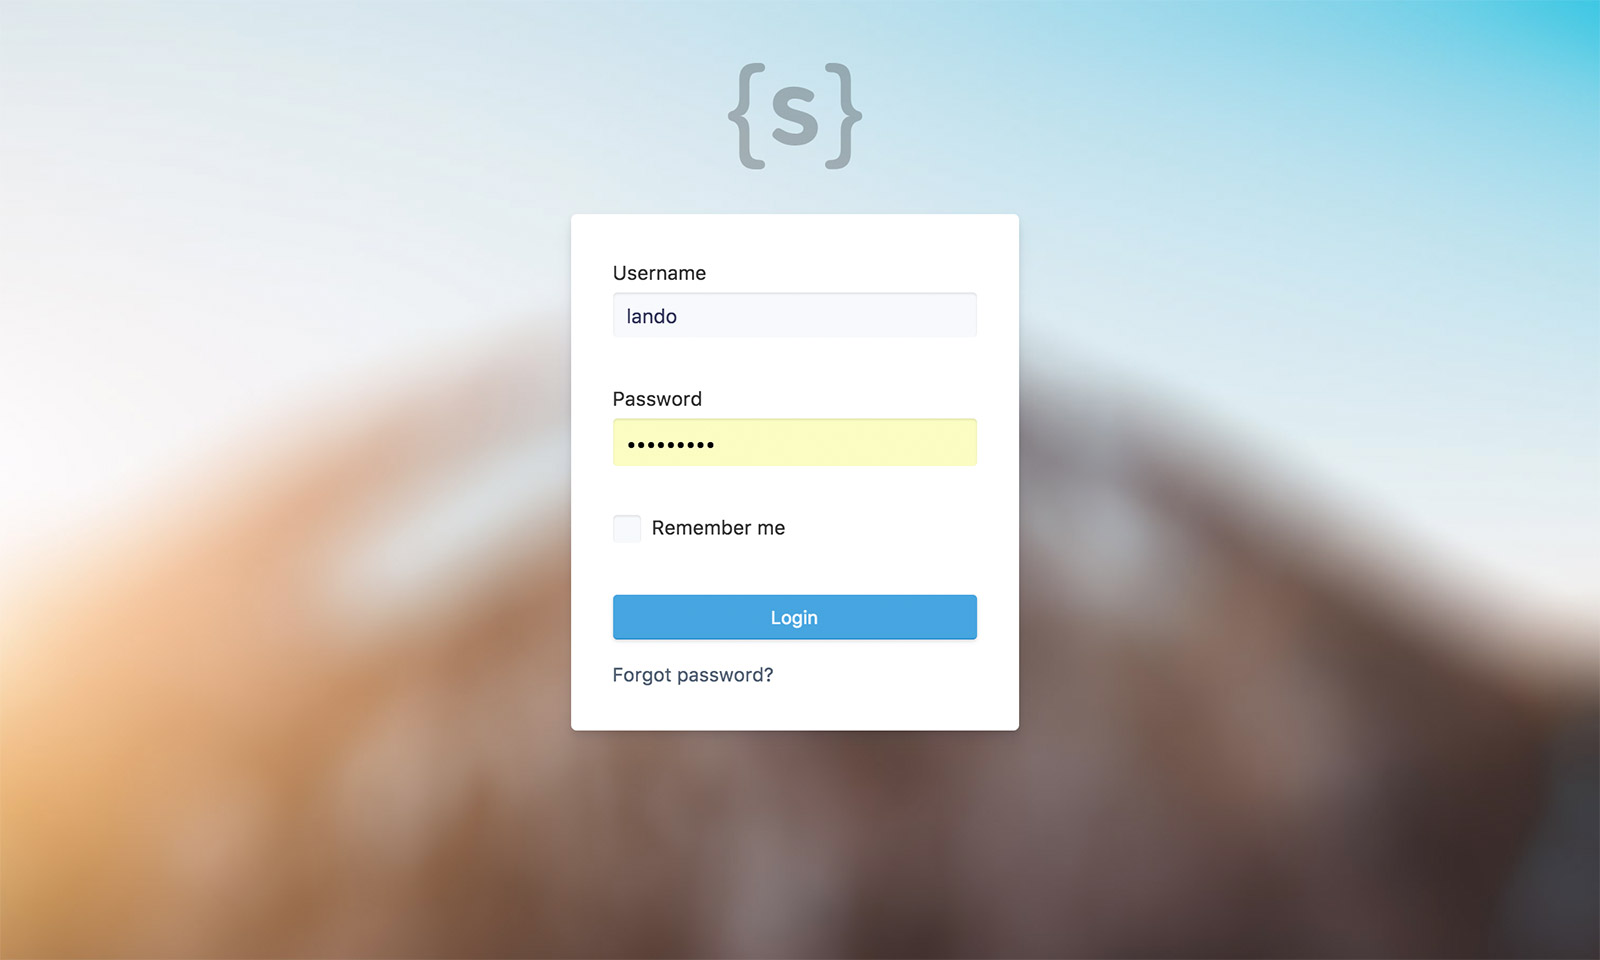
You can access the Statamic Control Panel by visiting yourwebsite.com/cp. If you’d like to use a different URL, you can change the $control_panel variable in your index.php file accordingly.
$control_panel = 'chamber-of-secrets';

Disabling
You may disable the Control Panel by editing the value in your index.php file.
$control_panel = false; // disabled
If you want to disable per-environment, you may add the following to your .env file on the appropriate environments.
DISABLE_CP=true
Translating
The Statamic Control panel may be translated into different languages.
The translation files for English are included, and are located in statamic/resources/lang/en. If you would like to translate another language, copy the en folder into site/lang and rename it to the short locale code of your choice, and begin editing the data inside.
By default, the Statamic Control Panel will be displayed in your default locale’s language.
The default locale is the first one listed in your locales list in your System settings, which should also match the $locale setting in your index.php file (and please file).
# system.yaml
locales:
  en:
    name: English
    full: en_US
    url: /
// index.php and please
$locale = 'en';
The language is determined by taking the first portion of the full value.
For example, full: en_US will use en.
You may override the Control Panel’s locale by setting the locale value in:
site/settings/cp.yamlto apply to all users.- A user’s file to apply to only that user.
This should be the short locale value (eg. en) rather than the full (eg. en_US)
For example, to display the Control Panel in French you would add the following:
locale: fr
Learn more about localization.
Customizing the Stylesheet
Statamic will automatically load site/helpers/cp/override.css if it exists. You may drop any styles you wish into that file.
Adding custom JavaScript
Statamic will automatically load site/helpers/cp/scripts.js if it exists. This could be a good place to add things like custom field conditions.
Customizing Listing Columns
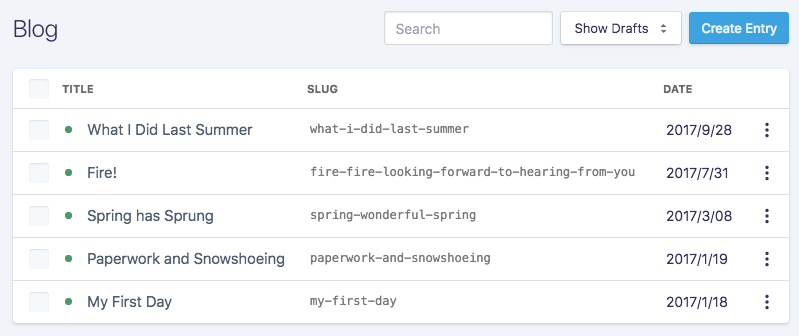
By default when listing entries and taxonomy terms, Statamic will give you a set of sensible default columns like title, slug, and date. You are free to customize these.

You may add a columns array to a collection’s folder.yaml or a taxonomy’s taxonomyname.yaml file. This array may contain a list of fields to display:
columns:
  - title
  - slug
You may also use a nested array to have finer-grained control over each column.
columns:
  - title
  - value: slug         # The field name used for the values. The only required key.
    extra: true         # Extra fields will become hidden on mobile to save space.
    width: 25           # The width, as a percent.
    header: "The Slug"  # The header text if the field name isn't quite what you need.
    link: true          # Whether the text should link to the item.
You may use a dot-notated field to display a value through a relationship. For example, if you have a related_post field, it would normally just show the ID. You can use related_post.title to show the title of the related post.
columns:
  - title
  - related_post.title
Finally, you may display thumbnails for asset fields. Do this in the same way as a relationship. You may specify a display field as well as a fallback field.
columns:
  - hero_image.alt           # Show the alt text, and fall back to the URL by default.
  - hero_image.alt.filename  # Show the alt text, and fall back to the filename.
  - hero_image.null          # Show no label. Just the image.